


The BrandDrive vendors and suppliers feature was built for forward-thinking and ambitious business owners to have seamless transactions between them and their vendors. What this means is that with one click, you can easily send money to your vendors once they are already added to your list.
I’ll walk you through a step-by-step guide on how to add vendors and suppliers to your BrandDrive store.
Step 1: Launch your BrandDrive app or web application.
Step 2: Click on vendors and suppliers.
The vendor and supplier feature is located at the bottom left corner of your BrandDrive dashboard.
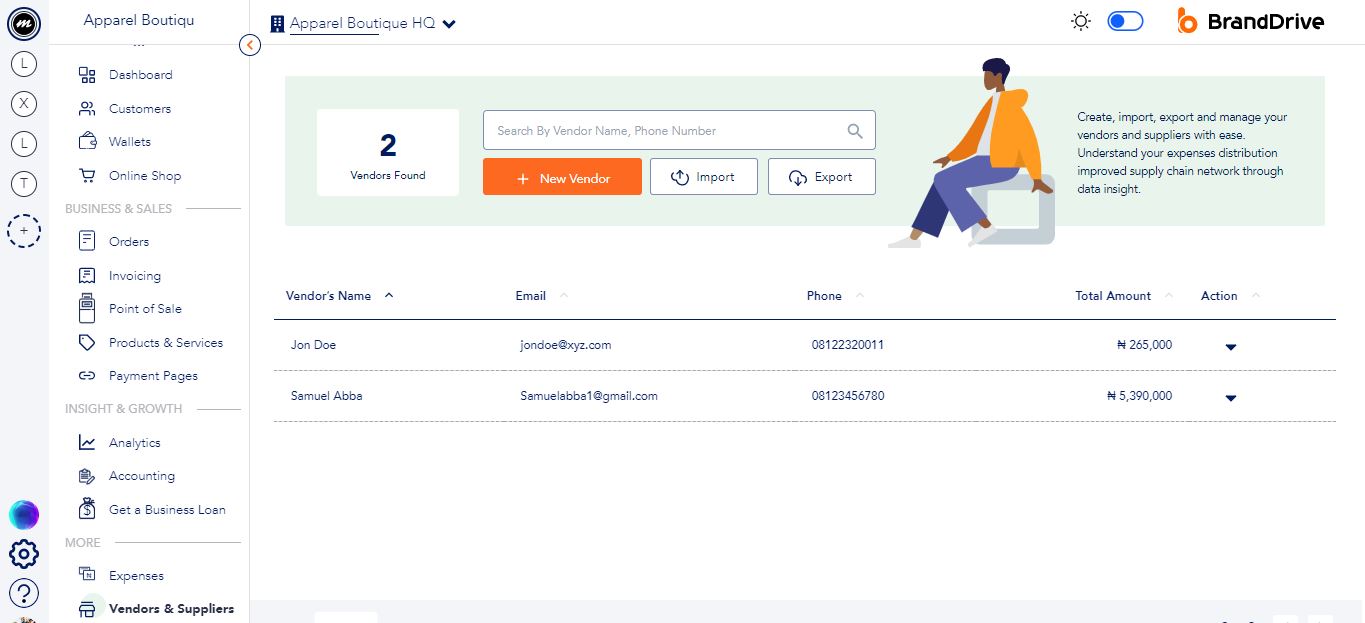
BrandDrive/vendor & suppliers
The vendors and suppliers feature gives you the number of vendors you have on your vendor list.
Search: Click on the search box to search through the list of already-saved vendors using their name or phone number.

Import: As a business owner, you can import a list of your vendors into your BrandDrive vendor. To import, click on the import icon between the new vendor and export and under the search feature.
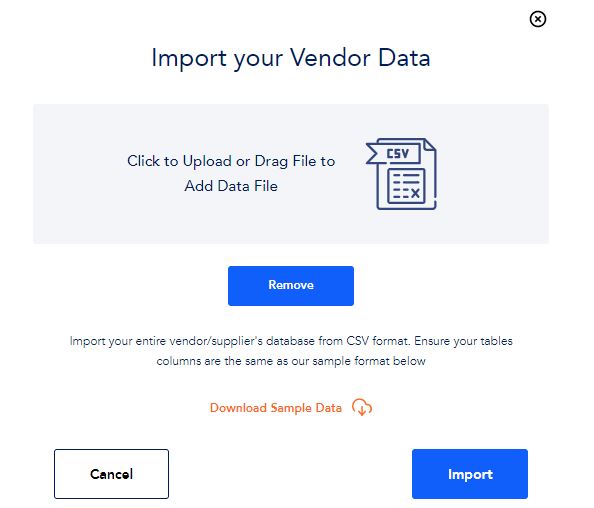
Click to upload or drag a file to add the file, and then click on the import button to import your vendor list.
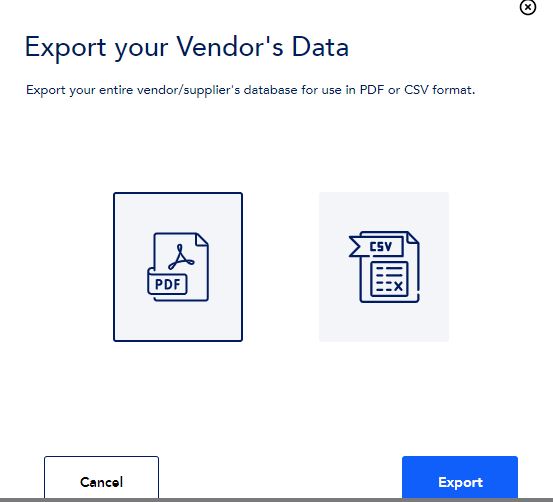
Export: Businesses using BrandDrive can export their vendors’ lists directly to their devices from their BrandDrive store. To do so, click the “export” button located next to the import button under the search feature. Then select the desired file type from which you would like to download your vendor list.
Step 3: Add a new vendor. To add a new vendor to your store, click on the “new vendor” button to create a vendor.

Step 4: Enter your vendor details following the loading of the new vendor modal. Enter their first and last name, business details (email, phone number, office address, country, state, and city).

Step 5: Save. Once you’re done saving their details click on the save new vendor button at the bottom of the primary contact modal.
Adjustment: You can further make adjustments, like viewing, editing, and making inactive a vendor you’ve already created. To do so, go to the vendor dashboard, click on action for the particular vendor you want to make adjustments for, click on the option you want, and make the necessary adjustment.